
Email templates are pre-arranged models that can be used to design mail parts that will be used in shipments
To access this section, go to the Marketing option in the main menu, and then go to Email Templates.
List of email templates.
Within the list you can create new mail templates and access all those created previously, applying a series of filters to be able to obtain only the desired set of templates.
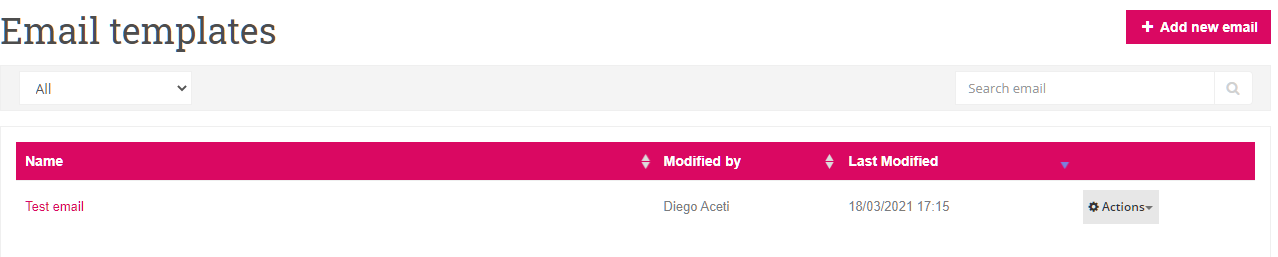
- Create a new email template, which will automatically create a draft template called "New Email", which must be configured before it can be used.
- Listing filter to get only the desired set of templates.
- By pressing the name of an existing template you can enter the editing of it. If you belong to an experiment, a window with the detail of the associated versions will be displayed.
- Template Actions:
- Edit: Access the template editing.
- Clone: Create an email template based on an existing one. All settings will be copied.
- Delete: Delete an entire template.
Attention !️: when deleting an existing template will directly affect all Email Marketing shipments scheduled to be sent, which must be modified to avoid failure when sending emails.
Editing email templates.
When you first create an email template, you must select whether it will be based on predefined DataCrush templates or whether you want to upload your own HTML.
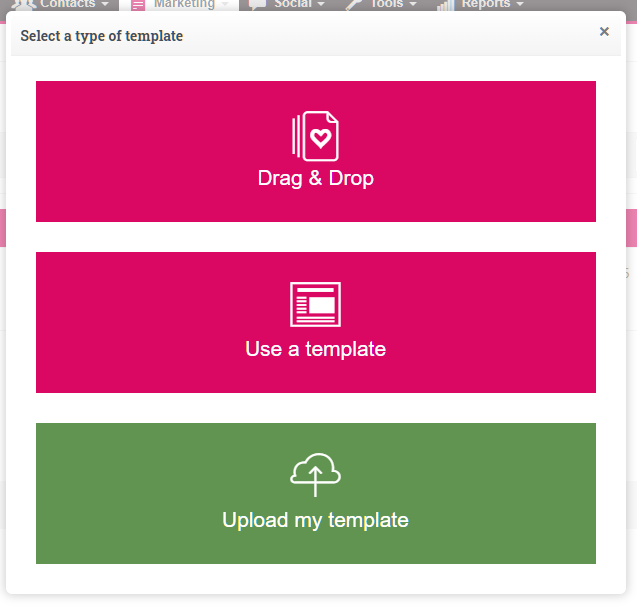
Predefined Template Selection.
Selecting predefined templates will introduce you to a window with a preview of the templates that Datacrush offers to use in email templates.
The HTML that we have uploaded on other occasions will also appear in this window.
Using the search engine you can filter according to the name of the template, also by positioning the mouse over a specific template you can get the name of it.

Upload your own HTML.
Your own HTML can be any template or email template designed outside DataCrush, either by a designer or programmer.
This type of own templates can then be used as predefined templates to be used in the creation of new email templates.
After uploading your own HTML you will be used to the design screen of the email template with our HTML.
IMPORTANT !️: We recommend reading the User Templates section of our Learning Center to learn about elements that allow your own HTML to use dynamic content.
The requirements that the HTML to upload must meet are:
- Be a ZIP compressed file and contain:
- File .html, Required HTML content file.
- Images directory: A directory that contains the images used in the HTML code.
- CSS directory: Style files used in HTML code.
- JS directory: JavaScript files used in HTML code (landing pages only).
- Custom directories can be created that will be used within HTML code.
- All references to external files must be made within the HTML code relatively, for example: <img src"images/background.jpg">
- The zip file must contain all these files and directories at its root, the files must NOT be located within another directory.
- If external files are referenced, another website, for example, must support HTTPS, otherwise it will not work properly
Design of email templates.
The design of email templates allows the assembly of content based on default templates, which can be used in email marketing shipments.
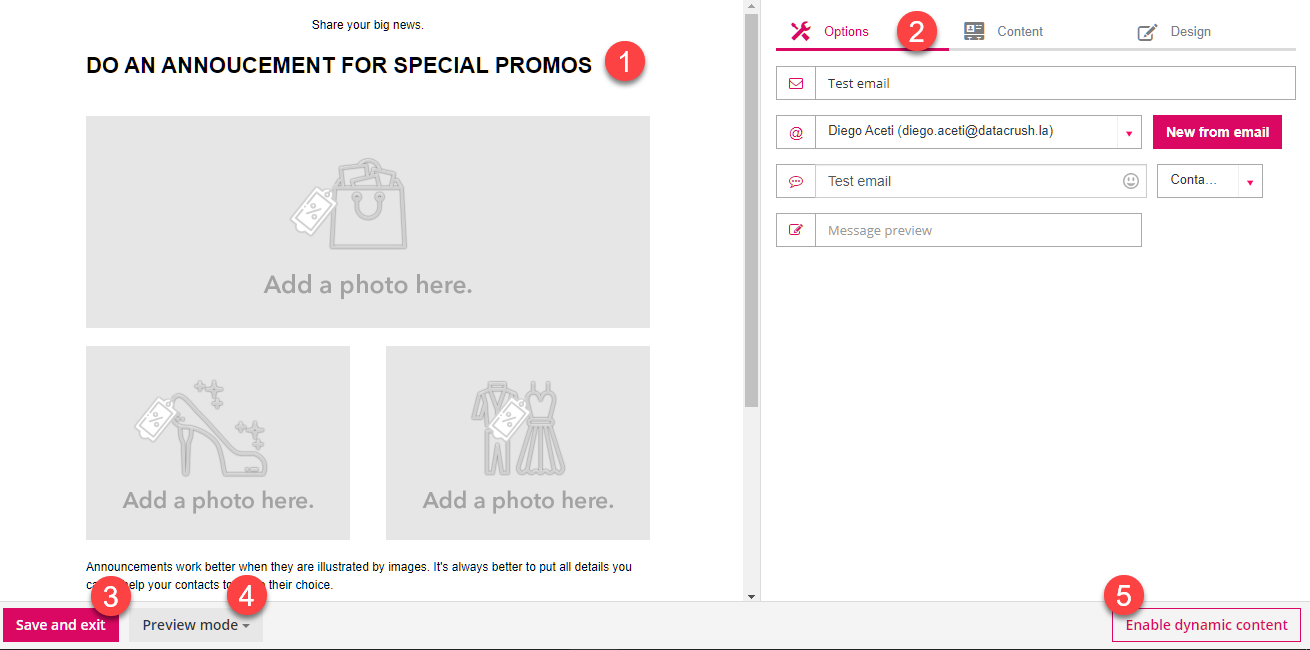
- Preview view area of the template, where you can see the content being edited.
- Options, Content, and Layout tabs for editing the template.
- Save the edited content.
- Preview mode: Displaying the template by simulating the entry of a specified contact, it will behave depending on the content rules entered.
Send email test to a certain box to verify the display of the edited template. - Creating Dynamic Content Rules.
The Configuration Area (7) has two tabs that we will access to configure the template:
Options: General email template configuration settings.
- Template Name: Name of the email template that will be used to be able to identify it later in the list.
- Sender: Name and email address that the contact who receives the email will see. By pressing the new sender button, new addresses can be added.
- Title: Subject of the email that will be displayed by the contacts. By selecting a contact field, you can set up custom issues, where the content will be replaced by the selected value of each contact. For example, custom issues can be created: "Dear Mr. Juan Pérez.".
Content:The default templates have different editable content areas defined, which are accessed by clicking on the edit area you want to modify, then requesting the entry of the corresponding fields for configuration.
You can also create dynamic content based on lists or lifecycle.
Comments
0 comments
Please sign in to leave a comment.