Most of the time, having a guide or template model is easier than starting from scratch.
That's why at Datacrush we have the possibility to use the Drag & Drop template editor, from where you can select a basic template that best matches the design you need and makes it easier to change content and layouts to create a successful email, then drag and drop different elements to add other content and apply colours and styles.
To access the Drag & Drop editor, we must first click the +Add New Template button at the top right.

In the window that opens, by clicking on the Drag & Drop option we will access the editor.
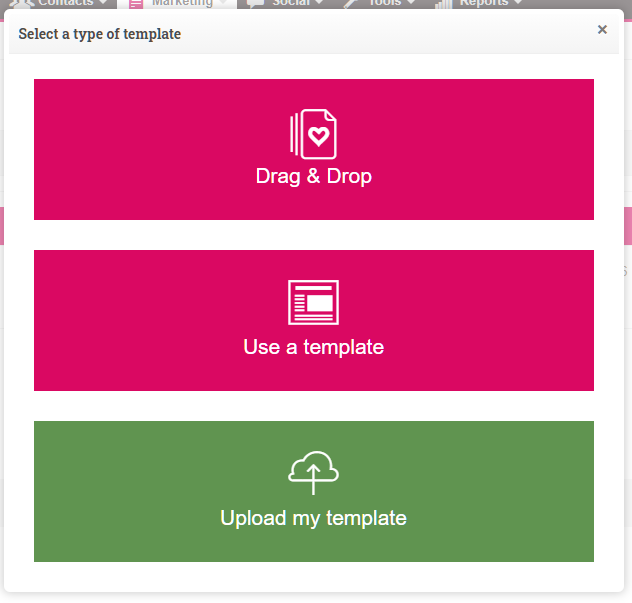
Once within the different template options, you can select a Featured template, which allows you to choose between different models of templates, depending on the touch you are looking for, or select a Simple template, and use one with design and format already preset.
Among the different options of the featured templates, you can find some with one, two or three columns of text in the template body, thank you, invitation, ads or product presentation, among others.
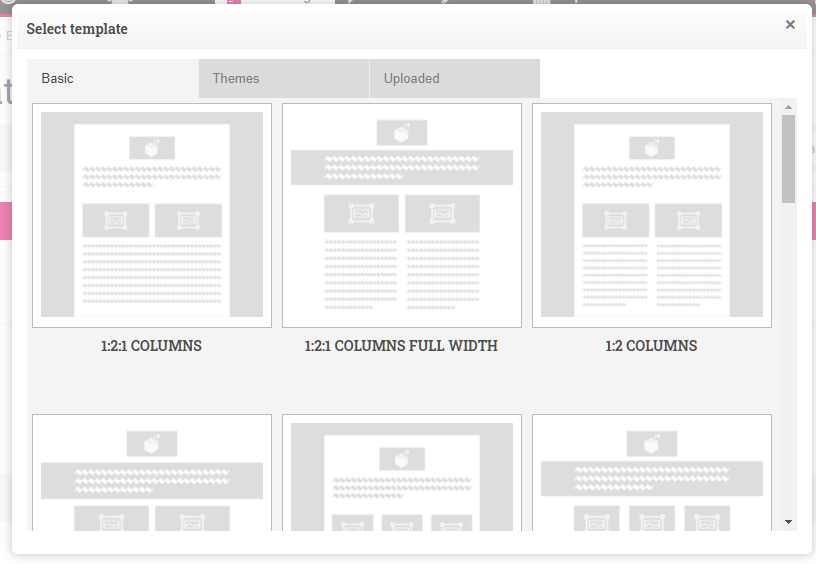
To access the editor, we select the template that suits us best.
Once inside the editor, let's take a look at the three tabs on the right, from the Options menu we access to wear the basic options of the template as:
Template name: So you can then locate templates already active in Datacrush in the list of templates.
Sender: Email account from where this template will be sent.
Subject: Subject of the email.
Preview message: to give anyone who receives the email the possibility to view a summary of the email in their inbox.

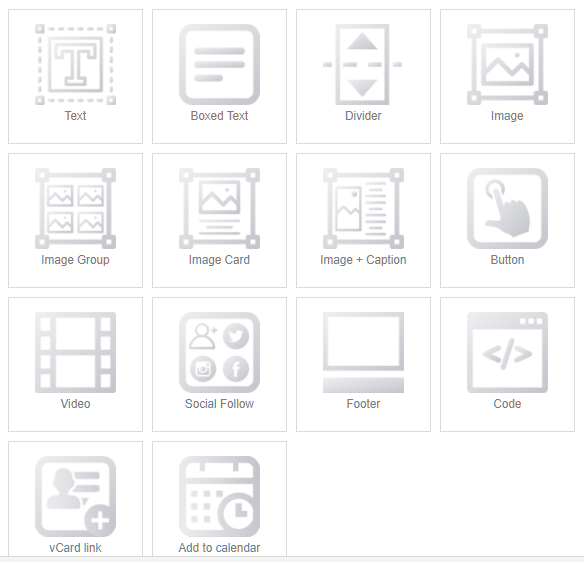
From the Contents menu we access the different Drag & Drop options of the editor, such as:
. Text Block.
. Content dividing line.
. Images.
. Text cards + image.
. CTA (Call to Action's) buttons.
. Videos.
. Tracking buttons on Social Networks. (*1)
. Footer.
. HTML code.
. Among others...
(*1) Within the Social Media tracking options, we can also add the option to add the WhatsApp button.

Each of these options can be dragged into the template on the left, as many times as you need and combine them, as we see fit.
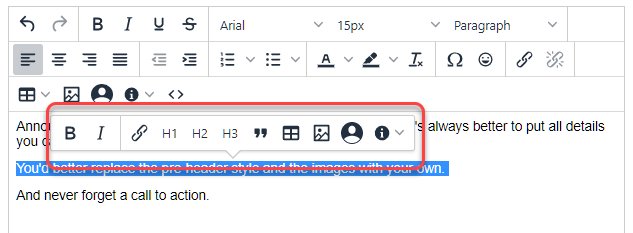
WYSIWYG text editor features.
The text editor that is activated when you select, for example, a text block module, also allows us, among other functions, to be able to independently edit a paragraph or line so that among other things you can customize a colour and not just select a fixed one.
Option to add to my contacts or vCard in drag and drop editor.
Within the content options that we can use in editing email Templates, we can add vCard Link content, which allows our contact to add to their address book the sender by which the email is sent.
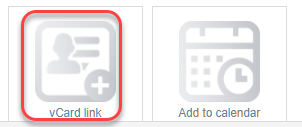
By adding the vCard Link block, all we have to do is add the introductory message and link title to download the contact.
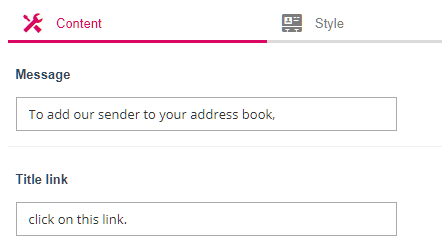
After the vCard block was added, the message in the template would look like the image below.
![]()
Why is it appropriate to allow downloading a VCard?
One of the main uses that we can give you are to add the sender to your address book and in this way avoid being catalogued as SPAM or that our sender ends up in the spam folder.
Option to add to the calendar in the Drag and Drop editor.
Sometimes we are interested in giving subscribers of our newsletter the option to add to their calendar when an event will be held that we are interested in attending, a training that we have informed you about, the day a promotion starts.

We only have to add in the content editor of this module, the items for the contact to age the appointment, such as:
- The title of the event.
- Date and times of the event.
- Description of it.
- Address of the event venue.
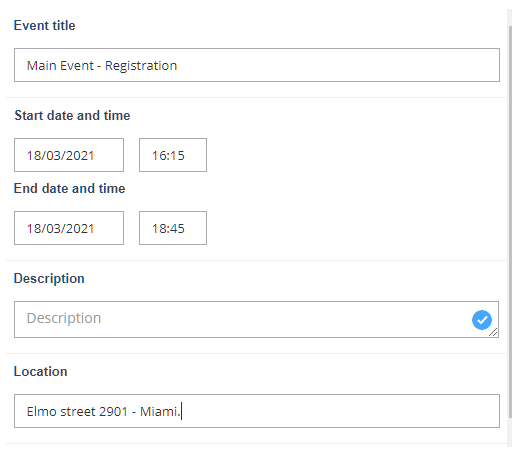
Then remember that in order to complete editing this module, you can also edit and modify the content styles from the Style tab and complete the module configuration from the Settings tab.
Once you complete the fields to use the calendar module, the icons in the preview will be active so that you can use whoever receives the email template to schedule the event.
What is the appropriate to allow adding to the calendar?
Including links, so your subscribers can add your events/appointments to their calendar is a good way to keep them in mind and don't forget to attend the events they're invited to.
E-Commerce module options associated with the Drag & Drop template.
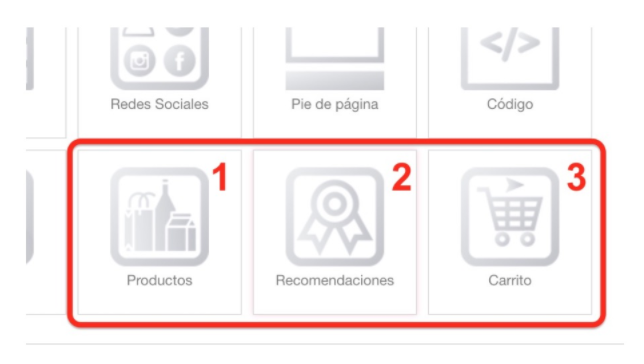
If you have the e-commerce module you can also create specific content to make your customers' shopping experience more personalized, such as:
- 1. Product Content: You can incorporate specific products that are available in your store into your email template.
- 2. Recommendations Content: Displays recommendations based on the last product visited by the customer, Interests according to categorize visited or according to a manual configuration.
- 3. Cart: Displays the products in a shopping cart.
Template customization options.
From the Design menu we access the customization options of the template such as:
In the options of Page, Pre header, Header, Body, Columns, Lower Body and Footer: Where we can wear or customize the style or colours of the background, the location of the elements, the borders and the format of the fonts.
In the Mobile Styles option, in addition to being able to set or customize the style or colours of the background, the location of the elements, the borders and the format of the fonts, you can also configure the sizes of the options, depending on how you search for them on a smartphone.
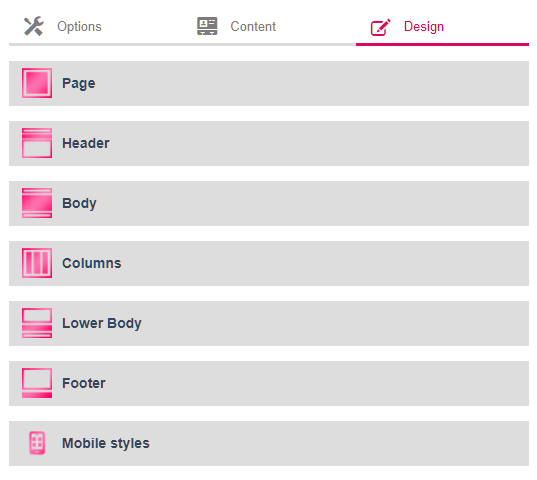
In short using the options of these three flaps, you can drag and drop them into the preview on the left and design the template according to your needs.
!!️ Important: In the mobile version the image adapts to the size of the container, so we recommend that you add a logo of a smaller size so that the image has a fixed size and has no difference between desktop and mobile.
What to do if Gmail has cropped your message?
If an email message is too large, Gmail will crop the content and hide it behind a View Full Message link.

When the message is cropped, the tracking code that records the openings is also clipped.
To avoid this, reduce the size of messages to less than 102 kb.
Test Shipping.
In order to correctly verify the design and editing of the template, from the Template Editor, as well as from an Email Mkt Shipment, in DataCrush it is possible to Send Test, and thus see in our Inbox, as a contact would see it.

In these cases it's important to know that when you test an email address, you're not selecting a contact, but you're sending a test to an address, which may or may not be part of the contacts.
prueba@prueba.com, without a portal contact.
is performed, a contact is taken so that the properties can be replaced
However, in the event that you want the test to be performed using a particular contact, what we can do is as follows:
- Preview button and select Enter Preview Mode.
- as a contact button.
- Find your contact or anyone you want to verify.
- button.
- Preview and select Submit a
- Enter any email where you want to receive the test, the proof you receive will be sent using the selected contact to replace the data.
sending the final Email Marketing or when the template is used in an Automation, the data used is the

Comments
0 comments
Please sign in to leave a comment.