Items in this guide.
Double Optin for Confirmation of Senders.
Sender Manager
From this manager it is possible to add, modify or delete email senders.
When entering the sender manager, DataCrush will list all the domains of the emails that are generated from the senders already created, and we will choose the one we want to manage their senders, by clicking on the View senders button.

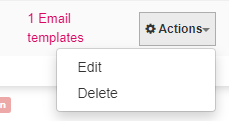
Then from the main list you can edit or delete senders from the corresponding option in the Actions button.
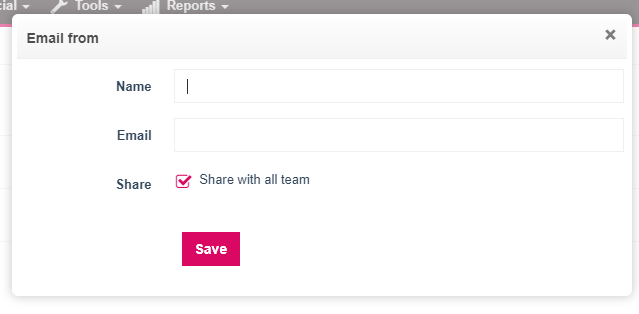
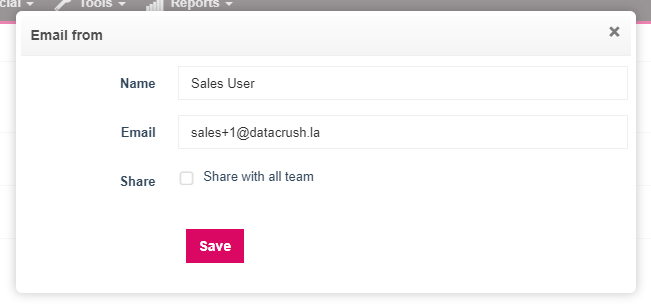
To add a new sender you must press the Add new sender button, then a window will be displayed where the corresponding data must be completed.

To add the new sender, you must press the Save button.
In the case of needing to share the new sender with the other datacrush users, we must check the option Share with the whole team.
Once the new sender is added, he will receive an email to give permission for use by the portal.
The email specifies the instructions to be performed.
In the event that the sender is pending approval, in the list of senders you can access the option Request authorization within the Actions button, this will send a new email to the sender to request approval of use.
Sender Authentication.
When entering the sender manager, DataCrush will list all the domains of the emails that are generated from the senders already created, as shown in the following image:

If your domain is listed with the Unauthenticated State, you must complete the authentication process before you can use it, along with the required senders.
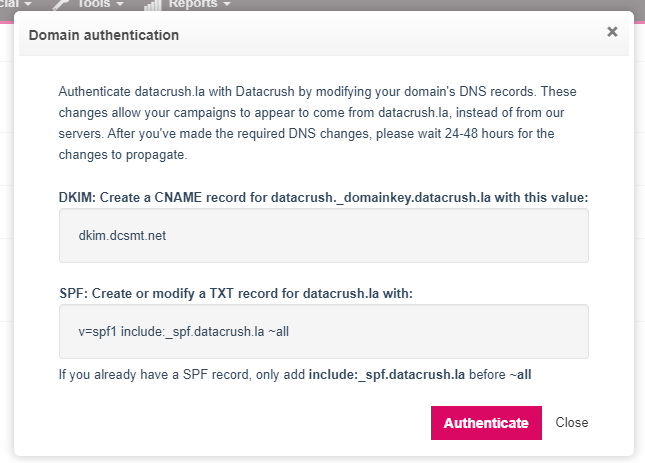
When you press the authenticate button, a window will open so that you can get the data that you need to place in the DNS editor of your server, after modifying the DNS Record you must press the Authenticate button so that from the DataCrush Support area, we verify that the process is ok.
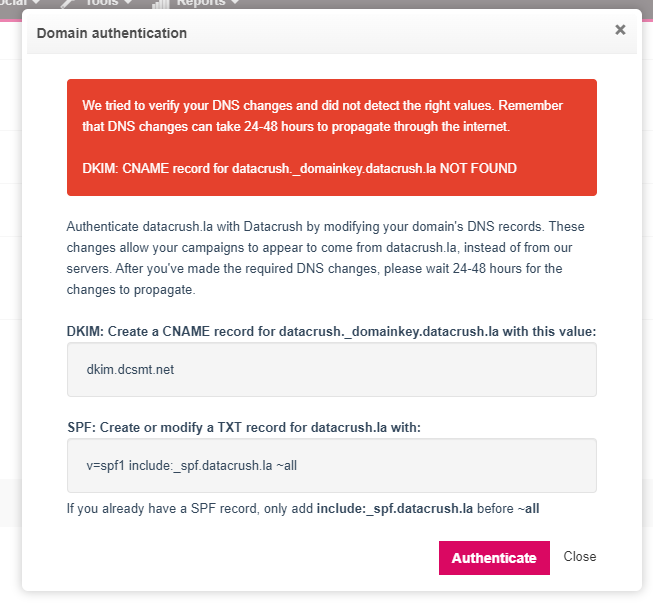
In the event that the authentication is wrong, the system will show you the following message.
If, on the other hand, authentication is fine, you will return to the main screen of Sender Manager, where the domain will appear with the status Authenticated and marked in Green.
! !️ IMPORTANT: It is important to use senders that are previously enabled by Datacrush (Optional).
For this operation we invite you to see the user center article for this purpose, by clicking here from where you can access the guides to configure the DKIM and SPF validation chains, this will allow you to improve the deliverability of emails and help them not to be classified as SPAM.
In the case of having to contact the Datacrush support area, through a ticket, the steps of how to do it, you can know them by clicking here.
! !️ NOTE: When entering a new sender who does not have these validation strings, in the control panel of the portal a warning message will be displayed in a red banner with the phrase:
ATTENTION: SPF and DKIM records are not configured for the sender Prueba@prueba.com These records are important to reach the user's box in email sends.
Please contact the support team so they can help you perform this operation.
Double Optin for Confirmation of Senders.
New senders created from the platform must be approved in order to be used in marketing automation actions.
It should be noted that the associated sender cannot be used until it is confirmed from the email you receive from DataCrush.
When the new sender is generated, the platform emails you, requesting that you validate the email by clicking on the message link.
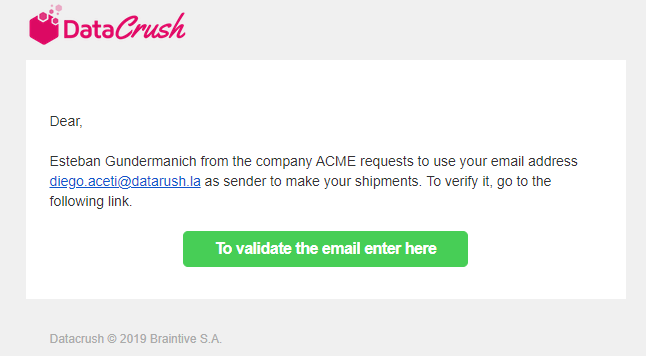
By clicking on the option to validate the email enter here, access a page where you are informed what was successfully confirmed as an associated sender.
It is also important that until the sender email is validated, Mkt Email Submissions cannot be made.

Comments
0 comments
Please sign in to leave a comment.